 |
| My wedding dress |
So, I got married to my partner of seven years last April. It was a lovely small ceremony in Australia, followed by a larger reception in the southernmost corner of the Netherlands. There are many sweet memories, but the purpose of this post is to share my journey with one of the most important aspects of the wedding: The Dress.
Although my husband is of course the most important aspect of the wedding, admittedly, The Dress was very important as well. It set the entire mood of the wedding to a whimsical romantic atmosphere which I like. Thus, here I’d like to talk about the journey of my dress, from shop to bustle to packing for overseas trips.
Brides who choose tulle princess dresses might want to read the bustle part in particular, because I share with you one of the most important, yet often forgotten, aspects of a wedding dress: the Bustle. If your seamstress failed to make you satisfied with the bustle of your tulle wedding dress, read on. Because you CAN make a beautiful bustle out of a tulle dress.
THE SHOPPING EXPERIENCE
When I told a very few friends about our wedding plan, inevitably I would be asked about the wedding dress: what would I wear on The Day. I actually didn’t want to wear a wedding dress. I was thinking of wearing a white saree instead, a saree that I’ve owned for about 4 years but it still looks amazing. But then I realised that this would be the only time I had the excuse to try on wedding dresses after wedding dresses, so, why not have fun with it?!
And so I visited the first shop, tried one dress that caught my eyes, and I fell in love with her. But I knew I had to do more research, hence I went to other dress shops. But that first dress was definitely a favourite…
After visiting all wedding dress shops in my little town and tried ~10 dresses, I narrowed it down to two. The first option is a white number; the exact dress that I tried the first time in my life. The second option is an ivory number. Both of them are strapless tulles with sweetheart necklines; both has to be altered using corset back because both are 1-2 sizes too small for me. The price difference is “only” $150; both of them were samples from discontinued lines and the only ones left. I loved them both, thus I had to choose between the two.
They say that when choosing between two dresses, choose the one that is more ‘you’. Well, which one was more me?
 |
| Meika, which once upon a time was my first choice |
 |
| My dress, the 5th dress from the left, when I first saw her... |
The ivory one was produced by the UK-based Jonathan James has a silly name (AP-32; which reminds me of a Star Wars drone instead of a dress), so I will call her "Ivory". She is AUD 600 excluding alterations, dropping from $1,800 (and then drops to $1,200). Ivory is size 12, so it doesn’t need to be altered too much. Ivory has a train and a lacy hem. Although the train is also awesome, the best feature of this dress is the midriff corset and the belt - an "obi". I thought the obi wouldn’t look nice on me, but it does. The dress is just a usual dress without the midriff corset and the belt. Ivory also has two wide bra wings/bands (like our normal bra wings/bands, but much wider), which gives tremendous support. The train would present a problem to move around and to dance, thus I would need to put on a bustle.
(By the way, I just realised that the Brits Jonathan James company was liquidised in April 2016... no wonder I could not find the website anymore. How sad... That was why Ivory was on sale. Not because the line was discontinued; but because the company was bankrupt...)
 |
| Meika, full view |
 |
| Meika in real life. She's very white, which may explain the bluish tone agains the cream wall (or it was just my phone playing up...) |
Meika makes me feel pretty like a little girl. Ivory makes me feel secure with her midriff corset. For overall look, Ivory wins hands down; and her train can actually create another look with the bustle. For the bust only, Meika wins due to the many little flowers. For the torso, Ivory won.
So, after trying on ~10 dresses, I returned to Ivory’s shop and put her on again. She looks very nice as the first encounter. See how I smiled, I truly love her...
 |
| I don't usually put the photo of myself in the blog, but for this one I feel that my emotion is needed to show how happy I was (still am) with The Dress... |
Also, when I looked back behind me, I can see her train. Her structure is simple, yet sweet as well. I finally decided that I would buy Ivory. I LOVE Meika as well tremendously. However, I apparently love trains, I love it when I look back that I see the gorgeous train behind me. So I chose Ivory.
 |
| Ivory's cathedral-length train |
I called the very nice wedding dress shop keeper about my decision, and she asked if it was a difficult decision. I said, yes it was very difficult. But the train was the main reason, so I chose Ivory. In the end, I know it was the right decision, because I smiled as I hung up. When I finally picked Ivory up, I was smiling as I saw her again. I do love her, and I’m very happy to have her. The shop keeper thanked me for buying Ivory. She also said that there was another lady on the weekend who loved Ivory, but she never came back. I hope that lady found another dress she loves.
 |
| Me, my dress and my shoes during our wedding... (photo by my sister) |
Lessons learned from the shopping part: ALWAYS choose the dress that makes you feel the most beautiful. Also, although there’s a growing trend of buying dresses online, if you can, please buy the dress from a brick-and-mortar, normal shop. Not only it injects some income to the locals, but you can also feel the dresses as you wear them, swirl in them, walk and sit in them. Those experiences cannot be imitated in the online shop. I am glad that I actually bought Ivory from a local shop, for not only I can feel her adorning me, but I also supported the local economy.
ALTERATION: CORSET BACK
I submitted my dress in early February, about 10 weeks before the wedding. Since I realised that the wedding was on the agenda, I’d wanted to have a corset back for my dress. Ivory is size AU 12 (US 8), which fits up to my waist, but does not accommodate my bust. Thus, I had to happily alter the back. Since I started to love the buttons, I kept the buttons up to the waistline, where It can still comfortably zipped up, and then asked the seamstress to make a corset back.
 |
| The final corset back with blush bridal satin as the 1" lace |
To break the monotony of the ivory tone (as gorgeous as it is...), I used a blush bridal satin for the hooks and corset lace. Oh, I originally bought soft dusky pink satin for the corset lace. But since the lace didn’t want to stay flat, the seamstress advised me to buy a stiffer bridal satin. I bought it and gave it to her before the 4th appointment (yes, I had four appointments). I also asked her to make the lace 1 inch (2.5 cm) wide, because it looks better IMO than the 1 cm or 1.5 cm width lace.
My seamstress knew how make a corset back, she finished that in the three appointments as scheduled. In fact, I have to say she’s very good with corset backs, it gives a very lovely V shape, that is rather difficult to achieve. I know, because I've seen many corset backs that are not that great... despite the awesome dresses the brides wore...
Lessons learned for the corset back: To make the corset lace laying flat on your back, it needs to be made with the stiff bridal satin. My seamstress didn’t tell me about this fact until the 3rd appointment, but hey, at least she did tell me! The result is a very lovely V-shaped corset back with a very lovely blush corset lace, flat on my back. In this regard, I went to the right seamstress. She definitely delivered for my corset back, which is a very important part of the whole ensemble, and I thanked her for that.
ALTERATION: THE BUSTLE
This is where things almost went south with The Dress. Ivory is like a soft reversed cupcake with at least five layers. We have the innermost layer, which is the thin satin ending in coarse netting for the base oomph effect. Then we have the thicker satin layer. Then we have 2-3 layers of plain tulle, ending with a layer of lace-hemmed tulle. On top of that, the train is cathedral-length (more than 22 inches). The train needs to be bustled during dance and dinner so that I don’t trip on my dress and rip the beautiful lace apart.
 |
| Ivory has a cathedral-length train with ~27 spinal buttons |
(click here for information on various types of wedding dress trains)
Based on the video above, and several other videos, my dress requires two types of bustles: under bustle (French bustle) for the satin inner layer and over bustle (American or ballroom bustle) for the outer layers. I gave the video to my seamstress, because she never did a French bustle (it’s not that difficult, I’ve actually practiced the video tips...). On my second fitting, we tried the French bustle, but the dress’ layers were stitched together at some parts such that French bustle didn’t work. Because a friend of mine had her Oleg Cassini train bustled in three-points over bustle, and since French is out of the window, I asked my seamstress to make a three-points over bustle instead. The seamstress said she’d do that.
On the third fitting, the seamstress had not finished the three points bustle as promised. She also hadn’t finished resewing the lace beads (cos she trimmed the dress length big time to accommodate my height). However, we made a big breakthrough during this appointment. Remember that the dress layers were sewn together at several points? My maid of honour finally decided that the joints that joined the layers had to be cut. Once cut, it produced a mass of tulles overflowing from inside the dress. It was a disaster. Apparently, since Ivory was a sample dress, she wasn’t made perfect. The measurements were rather off; the inner tulles of her left side was longer than the right side. There’s no way we could make the bustle with those overflowing tulles. So, my MoH and I decisively ordered that the inner tulles be trimmed considerably. Thus... we had to return for the fourth fitting...
 |
| Ivory being fixed... took 4 appointments and some more... |
On the fourth fitting, the infamous three-points bustle was ready, and the inner tulle layers were trimmed. The laces and beads were stiched back. The stiff blush corset lace was ready. Everything looked promising until seamstress and a best friend of mine (she was the one who accompanied me when I tried on Ivory for the first time) bustled Ivory. By the way, my MoH already gave up on my seamstress...hence I advised her not to come. In retrospective, it was a good decision.
Because... Ivory's bustle was Terrible.
I’ve seen photos of bustles that totally, TOTALLY, ruined the dresses... and now this bustle joined the rank. My utmost fear for a failed bustle is that it would make the bride look like having a chicken butt.
And this is what happened with the bustle.
Chicken butt.
 |
| You can see the three points for the bustle... which makes up a chicken butt... |
However, it was my 4th appointment on a Friday afternoon. We were going to fly to the ceremony location in Sunshine Coast Australia on the following Tuesday. I still need to dry clean my dress cos she’s a sample dress, hence she had handling marks particularly on the hem.
Thus I’ve decided that I’m not coming back. I swallowed my disappointment, gave my best smile, hugged the kind seamstress, paid her, and left.
I burst out my disappointment and dissatisfaction to my friend outside the store. Such a bustle was simply NOT ACCEPTABLE. My kind friend understood, thus she drove me to her place where we spent an hour trying to work out how to make the dress bustle look better.
The way the seamstress bustled the dress was to hook the right loop to the right button, hook the left loop to the left button, and hook the middle loop to one of the spinal buttons. Ivory has 12 spinal buttons left after being altered. The seamstress preferred to hook the middle loop to the 7th spinal button, counted from the bottom.
 |
| Ivory has 12 spinal buttons left after the alteration |
Thus, that evening, my friend and I tried hooking only the middle loop to the 9th spinal button from the bottom. Didn’t work, still chicken butt. Then we tried hooking the middle loop to the topmost button, and the left loop to the left button, and the right loop to the right button. Still chicken butt.
 |
| Three-points chicken butt (photo taken in my friend's bathroom, not in the alteration studio) |
We tried several options, including just hooking the middle button. We failed.
 |
| Tried just one-point over bustle, but still looked cluttered. |
 |
| Yep, the bustle didn't work... |
Not. Appealing.
My friend still made a good suggestion. “Trim the layers further. The inner tulles are still too long.”
She was right. The seamstress, after those four appointments, did not do a good job with the trimming. She left plenty of materials in need of cutting.
Thus I went home and made a quick arabiatta for dinner. Then I sulked to my fiancee (now husband), asking him to call the Netherlands to see if any seamstresses can help me with the bustle. Fiancé (now husband) called three seamstresses, all were not available to pick up the calls. Giving up, he went to bed.
Me... I didn’t go to bed. I took a shower, played some meditative music, and then installed a dress mannequin that I bought on impulse a week prior. Now I know that instinct to buy the mannequin was a wedding-saver, for I couldn’t have done what I’d do next without the mannequin.
Upon installing Ivory on the mannequin, I bustled her the “normal, chicken butt” way and started trimming her tulle inner lining. I cut the tulles like I madly cut unwanted hair. I worked for more than an hour until I produced even inner layers that did not race the outer layer. This was how much I cut off.
 |
| I cut out A LOT of materials! |
Then, I repeated the ways of bustling Ivory that I’d done with my friend. I bypassed the French bustle. I thought I could have worked the bustle with a combination of French and American bustles, now that the excessive inner layers have been massively trimmed. However, the seamstress had sewn the three loops to almost all layers. The only layer she left out was the innermost layer, i.e. the thin satin with netting hem. I need to start with what I have, i.e. the three points of overbustle.
Thus I just kept moving the middle loop to different points along the line of the spinal buttons to see if any new position reduce the chicken-butt effect. Nothing worked. Still jutting butt despite the massive tulle cut I’ve done.
Shall I just give up and wait for a Netherlands seamstress to rescue my dress?
Then, at that moment, with the meditative music as the background, I moved my last chess piece. In February 2018, I experimented with a three-point bustle using one of my long gowns, a gorgeous purple tulle, with the aim to see how a French bustle and an American bustle fare with a tulle gown with satin inner lining.
What I did with the purple dress to conceal the jutting effect of a three-point bustle was to attach the left loop to the right button (well, I used a safety pin that time), and the right loop to the left safety pin, creating a crisscrossed section. Then I lifted the middle loop and pinned it rather high up to cover most of the crisscrossed section. The result was okay, but not so significantly different from the unbustled gown, because my purple tulle gown didn’t have many layers and really didn’t need any bustles.
Still, worth a try to rescue Ivory from a bad bustle year. I did several trials and...IT FINALLY WORKED!!
 |
| The bustle was saved!!! |
Ivory’s bustle was saved!!
The secret (see photo below): I attached the dress’ right loop to the left button (purple line) and the left loop to the right button (blue line). The crisscrossing actually “flattened” up the tulles, thus no jutting chicken butt. I then hooked the middle loop not to any spinal buttons. Instead, I tied it with the corset lace, placing the train as high as possible to where I would tie the corset lace into a nice ribbon (red line). This trick covers most of the crisscross section created by the left and right hooks. The result is a very nice flowing effect of a bustle which accentuates the layers of tulles.
 |
| Hook the right loop to the left button (purple line), hook the left loop to the right button (blue line), and then cover them by hooking the middle loop to the corset back (red line) |
And this is the final result!

Depending on the dress, it may not matter whether you do the right loop to the left button (purple line) first, or the left loop to the right button first (blue line). My dress is such that it looks better with right-to-left first. However, with this method, the most important thing IMO is to hook the middle section (red line) LAST, because it covers the criss-crossing section. If your dress does not have a corset back, assuming your dress is zipped with decorative buttons (or just secured with buttons without zipper), hook the middle loop on a button on your waistline; that would provide the highest coverage. If your dress has only a zipper without buttons, then you need to install a button on the waist area as the middle and last anchor point.
My Maid of Honour came to my place the next morning (Saturday) to do the bustle with me wearing the dress. She concluded that my method was successful in keeping the train off-ground, safe from the risk of getting ripped off by random feet. The train barely touched the floor and didn’t impede my movements, as was later proven during the waltz.
I don't have the photo of step by step bustling method, but I hope these photos are a good start for you to understand my method.
This is the criss-cross method (right loop to left button, left loop to right button), but the middle loop was hooked to the top spinal button. The purpose of this photo is to show the right part of the criss-cross method, made by hooking the left loop to the right button). You can see that the middle loop was not attached to the corset lace, and thus the criss-cross section is seen.


But then, when we tied the middle loop to the corset lace, its high position automatically obscured the criss-crossing section and created a smooth tulle construct.
 |
| The final bustle from the back |
 |
| The final bustle, right view |
 |
| The final bustle, left view |
SO, REMEMBER: When all else fails, try this criss-cross method with the existing three points bustle. It might work.
So, problem solved for me. I still had to be careful when stepping back with the dress, but I was doing crazy dance moves with Ivory after dinner (even the can-can Paris dance!), and I didn't trip on the hem!
 |
| This is the back view of the hem after being bustled. Barely grazing the floor. |
 |
| And I twirled and danced with The Dress! |
Thus ended my problem with the dress. After the bustle rehearsal with dearest MoH, I immediately took Ivory to the local dry cleaner. She was ready for me to take to Europe the following Monday afternoon. Ivory performed her duty excellently. By using a cabin-sized luggage and laid Ivory on a back and forth motion (the way you would layer a whipped cream, if that makes sense), I even had no problem carrying her into the cabins on my international flights.
Lessons learned for ladies with similar bustle problems:
1. Your tulle dress CAN BE BUSTLED in a pretty way. Don’t accept a “no” for an answer. Watch YouTube videos, research the best seamstress in town (mine is great for corset back, but not for bustles), and also re-read this post. Drop me a comment or two and I will try to answer your questions asap.
2. The bustle MUST serve the dress. In another word, the bustle must not take away the beauty of the dress. If possible, the bustle should add to the beauty of the dress, but don’t accept any bustle that will worsen the dress. You invest a lot of time (and most likely money) to find your perfect dress. Don’t accept bustles that ruin your dress.
3. For the trains of A-line tulle dresses, to make a nice, seamless, flowing effect, I recommend that the buttons (or hooks if you’re using hooks and eyes) be placed just around your waist or hips.
 |
| This photo shows a five-points over bustle hooked on the dress' waistline, which created a nice, uncluttered, flowing effect. The jutting corner on the right needed to be addressed, but at least the bustle looks integrated into the dress |
If placed lower than hips, it is likely to create either the chicken butt effect or the random bursting effect that does not serve the dress. Find an area where you can camouflage the buttons. Most likely they will be around the waistline. My dress Ivory has an “obi”, thus I asked the seamstress to place the buttons at the bottom edge of the obi, which is around my hips. As anchors for the bustle loops, I asked her to use the buttons that were taken out to give way to the corset back.
4. But again, every dress is unique. Thus, use your best judgement and return to points 1 and 2 above when in doubt.
NOTE 18 May 2018:
A member of the Weddingbee forum misunderstood my post here, thinking that I advised brides to hack their wedding dresses. I did not, I do not.
I cut my inner tulle layers big time because it was part of the plan anyway with the seamstress, and there was no way I could make the bustling work all by myself without trimming the inner layer. But what I advised here to other brides is merely to change the hooking method as I have described above.
The forum member was correct, though, in identifying that the back part of the dress was lifted too far from the ground because of the new method of hooking the loops. I agree with that. In retrospective, to fix it, I had to move the middle loop slightly upwards towards the spinal buttons (perhaps 1-2 inches?). However, I did not have the materials nor expertise in making a new loop. Although ideally a new loop was in order, I didn't have that luxury. However, the uneven back hem of the dress is still a small price to pay compared to having an unaesthetic-looking bustle, or the inability to walk and dance freely.
But having said that, for brides who want to try this method, if it produces a nice flow for you, and you have the resource to make a new loop, I'd love to see how it goes!
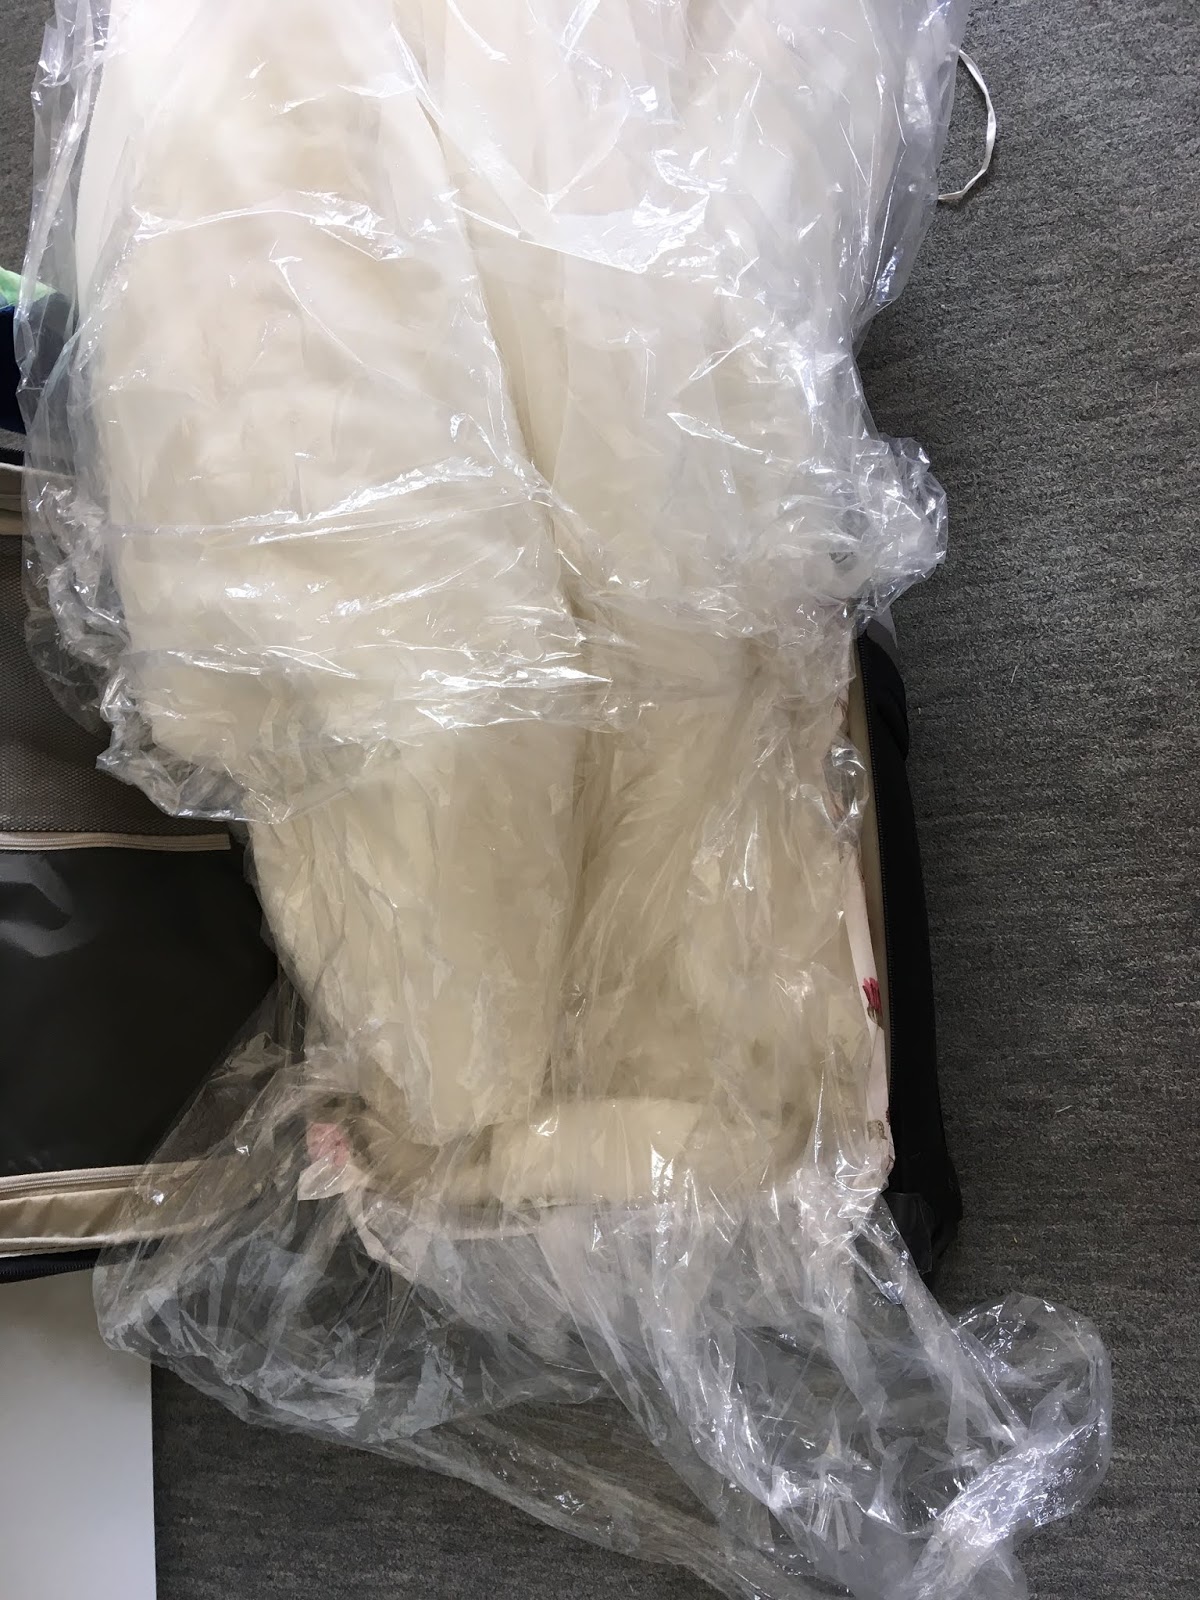
Extra: How to pack your massive wedding dress in a cabin-sized luggage
For this, you need a cabin-sized luggage, a big dry-cleaner’s plastic bag and some paper tissue or muslin fabric. The plastic bag makes it easier to fold the dress into the luggage, while paper tissue or muslin gives added protection. Although the hard shelled luggage gives more protection, I find the soft shelled luggage better, because the zipper of the hard-shelled luggage is in the middle, thus the dress might be caught in the zipper. On the contrary, a soft-shelled luggage has zippers on the upper part of the luggage, thus the risk of zipper catching the dress is smaller. Plus, soft shelled luggage is usually slightly expandable, which gives more room for puffier dresses like mine.
To put the massive dress into the cabin-sized luggage, fold the dress in 3-4 parts, but overlay the layers on top of each other like you would when spraying whipped cream on top of your sundae. Let’s call the upper part of your suitcase where you have the handle A and the bottom part where you have the wheels B. With the dress within the plastic bag, lay the bottom part of the dress skirt flat (or as flat as you can) from B to A. (Or A to B, up to you)
 |
| First fold: lay the skirt on the bottom of the suitcase. A is above, B is bottom. Here the dress train is on B (or the bottom part near the wheels) |
Then, return the remaining of the skirt from A to B.
 |
| Then fold the remaining skirt back to point B (below) |
If now you’ve reached the torso part, fold the torso nicely from B to A, and that is the end.
 |
| The final fold: the whole torso |
If you are a taller girl, you might need another fold from A back to B to finish the skirt, then you fold the torso over it.
I like to have the torso of my dress upfront (as in, when I open the suitcase, the torso is facing me) so that I can check every now and then (if I'd like to) that the torso is not accidentally folded the wrong way (we usually open the suitcase in the right orientation, i.e. the wheels are on the bottom). The benefit of having the torso with the A to B orientation (from the handle to the wheel) is that so gravity does not play nasty things to the torso when the luggage is on the move. But in reality, your dress might fill in the whole cabin-sized suitcase, and thus it has very little wriggle room anyway that may make the dress move about (which is my case).
Then, the trick to zip the bag if the dress fills the entire suitcase: gently and repeatedly press various parts of the dress to let air out. I would cover the dress with either muslin fabric or tissue paper, just for an added layer of protection. When you zip the suitcase, put your middle finger beneath the zipper and gently pull the zipper, using your middle finger and thumb. This way, your middle finger prevents anything from getting stuck during the zipping process.
 |
| My wedding dress, ready to travel! |
 |
| This cabin-sized suitcase contains one wedding dress and one three-layered cape |
Happy travelling with your wedding dress! Oh, and enjoy your dress, train, bustle and all!
Extra photos: Bridal party dresses
Our colour scheme is dusky pink and purple, thus I chose the BM dresses in those tones. I'm glad the BM dresses looked integrated, as shown in these photos. I sourced the BM dresses from different vendors.
 |
| L to R: Monique Lhuillier (dusky purple), Watters for BHLDN (aurora pink), Jonathan James (ivory, discontinued), Catarina Hapsari (blush pink) and Alfred Angelo (wisteria-lilac, discontinued) |
 |
| I hired a really good photographer... Stan was The Man! |
 |
| I was worried that the colour scheme would not work, because I bought the BM dresses separately, but thank God it worked well! |
And since I also love, love, love my shoes, she deserves a mention here as well! Nina Fiarucci "Justine", ivory leather boots with lace and organza ribbons... She's totally hot! I bought her on discount from a wedding dress shop in Maastricht, NL because she was a discontinued line. Btw, God, Maastricht is amazing! When you're in NL, you should visit this Roman city!
 |
| My Nina Fiarucci boots; ivory leather, lace and organza ribbons... |
4 comments:
Thanks for this post.
I’m an amateur seamstress and was recommended by another bride that I did her alterations. I have 3 weeks to do the alterations on this dress when I saw the dress I cringed because of the tulle. Did the other alterations and then began play with the bustle for hours.I went for a second fitting it didn’t look bad but I still was not happy and have extra tulle on the sides. Brought the dress home and have not touched it in days. I’ve researched and have not found and anything. I prayed Lord you have given me a talent I need your help. Then I saw your post. I will be trying your Idea. Praying it works.
Helo Anon,
Thank you for your sweet comment... I hope you are able to make it work with the tulle bustle. They are indeed not the easiest to work with.
You might to place the buttons at different heights than mine so that the dress still has similar hem length after being bustled. You're a much better seamstress than I am (I've taken up sewing since COVID, but I wouldn't be able to alter a wedding dress), so all the best! Let me know how it works, please.
take care,
Icha
Thank you for this post! My future daughter-in-law just brought her tulle ballgown dress to me for hemming and didn't realize that it had a sizeable train, which will require bustling. We played around with several bustling styles, none of which looked very good, so I'm eager to try your criss-cross method. Your explanation and diagrams are very helpful. Fortunately, we have several months before the wedding!
Hello Ms Anon,
So glad that you might find the criss-cross method useful! Do let me know how it goes; I have been curious on whether it works on other tulle dresses or not...
thanks again and all the best for the wedding preparation!
Post a Comment